There are many things to consider and evaluate when choosing indoor cycling fitness equipment. But features like the adjustable exercise bike seat and handlebar require extra attention.
It’s because our body structures are unique. Some have shorter legs, while others have longer arms. And our exercise bikes have to be adjustable to accommodate these variable characteristics. Otherwise, indoor cycling will only be uncomfortable or painful for many riders.
To explain this further, I listed some common problems you might have encountered due to an improperly adjusted exercise bike.
Then, I will cite quick and doable solutions so you can address or avoid these indoor cycling issues.
Why Adjust Your Exercise Bike Seat and Handlebar Properly
Aside from body structure differences, adjusting your exercise bike is necessary because indoor cycling is repetitive. Also, there is a minimal range of motion while on a stationary bike.
Failure to adjust your bike will force you to recruit the wrong muscles and joints. And constantly working them will only lead to soreness or, worse, injury.
Adjusting your exercise bike may seem unimportant. However, in the long run, a minor task impacts your cycling performance and workout consistency.
So, what exactly should you check to ensure a sound exercise bike setup?
There are three things:
- the exercise bike seat height
- the distance between the handlebar and the seat
- the handlebar height
Getting these three components right should help you avoid the following.
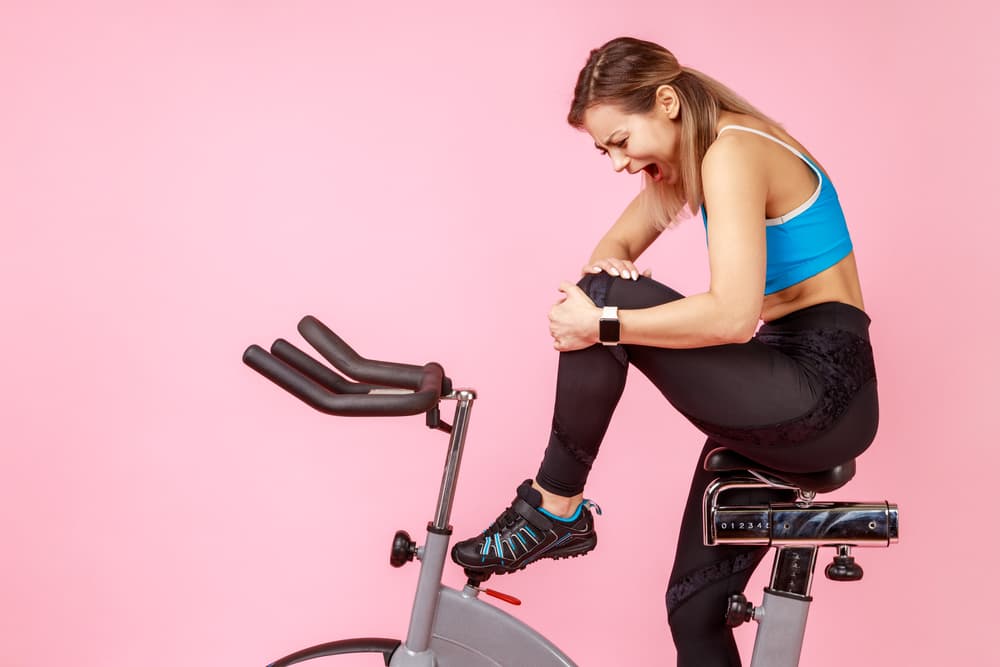
Knee pain or injury
Your knee plays a crucial role in completing the pedalling motion. So, it will likely take the brunt of any incorrect cycling position or form.
This cycling problem is so common that medical experts and orthopaedics often call this condition cyclist’s knee or patellofemoral pain syndrome.
Riders who experience this report pain in their kneecap or patella. Not checking the adjustable exercise bike seat and handlebar is among the usual culprits.
Specifically, if your knees tend to graze the front of your bike while seated, it only means your saddle is way too close to the handlebar. Not making the proper adjustments will result in knee bruises.
This type of positioning also limits core muscle engagement during indoor cycling. Aside from the incorrect distance between the seat and handlebar, knee pain occurs when your saddle is too high or too low.
You will likely feel pain in your kneecap or the front of the knee when it is too low. On the other hand, you should feel pain in the back of your knee when it is too high.
Bini and Croft (2011) shared the same observations. They noted that bike configurations, particularly improper saddle height, directly impact cycling performance and injury risk.
The researchers also noted that one way to reduce knee injuries among cyclists is to set the knee flexion angle to 25-30°. Consider doing knee-strengthening exercises as well. Using knee massagers can help relieve pain, too.
Bruised groin
You feel pain around your groin area while cycling for two reasons.
One is incorrect saddle height.
When the saddle is too high, you tend to overstretch your legs to reach the bottom of each cycling stroke, hurting your groin. This setup also makes your hips rock back and forth unnecessarily.
When the saddle is too low, your pedalling stroke becomes shorter, hitting your groin each time you raise your knee. This setup also minimises the power of your cycling workout.
Another reason for a bruised groin during indoor cycling is a too-low handlebar.
When the handlebar is way lower than your seat, you tend to lean your upper body forward too much. This form only strains your groin area and even hurts your back.
The key to avoiding a bruised groin is to set the seat and handlebar at nearly the same height. Test your adjustments and be sure you are not overstretching your body to reach for the handle or complete a pedalling stroke.
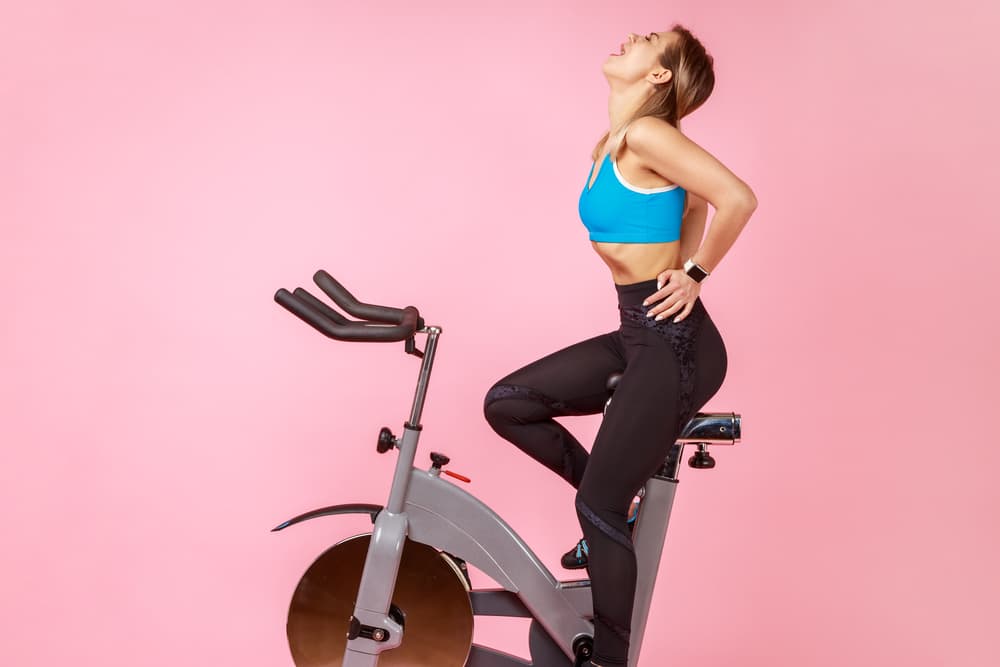
Neck and back pain
Pain in the neck and back is yet another sign that you failed to set your adjustable exercise bike seat and handlebar properly.
When your neck hurts during indoor cycling, it only means your handlebar is too low. When your handlebar is in this position, your body tends to hunch over. You also force your spine to arch, causing your neck to overextend. All these factors lead to one thing: lower back pain (Streisfeld et al. 2017).
In addition, when your hips rock from side to side while cycling, your saddle is too high. And this positioning also strains your lower back.
You can prevent neck and back aches by adjusting the handlebar height. Make sure your neck and spine are in a neutral position. Be sure to move your neck occasionally while cycling to avoid stiffness.
Sore buttocks
Saddle sores are also a common complaint among exercise bike riders.
When you do not set the adjustable seat and handlebar, there is a higher risk of chafing your bottom. Discomfort can be aggravated further due to friction and sweat.
So, to avoid getting a sore bottom, adjust the saddle to the right height. Also, consider getting a gel seat cover or padded cycling shorts for extra cushion.
Try doing glute stretches with a foam roller, too, for relief. This article on preventing a sore butt during indoor cycling also has more details.
How to Adjust Your Exercise Bike Seat and Handlebar
Here’s a short checklist you can use to ensure you’re working with the proper exercise bike setup:
- Seat height. Stand next to your exercise bike saddle. Then, check if the seat aligns with your outer hip bone. Now, hop on the indoor bike and rotate the pedals with your foot. Your leg should be 25-30% bent at the downstroke.
- Distance between the handlebar and the seat. Stay on the bike and position the pedals parallel to the floor. Next, reach for the handlebar, then check below if your knee is between your ankle and the ball of your foot. If not, move the handlebar forward or back.
- Handlebar height. The handle should be about the same height as the bike seat. Make sure you can hold the handlebar without reaching for it or hunching. If you’re a beginner, pregnant, or experiencing back issues, you can slightly raise the handle for a straighter form.
Check out this article for the detailed steps on achieving an ergonomic bike setup.
More Tips to Avoid Indoor Cycling Pain and Injury
Aside from checking the adjustable exercise bike seat and handlebar, you can also avoid cycling issues by paying attention to your form and technique.
Here are some helpful tips:
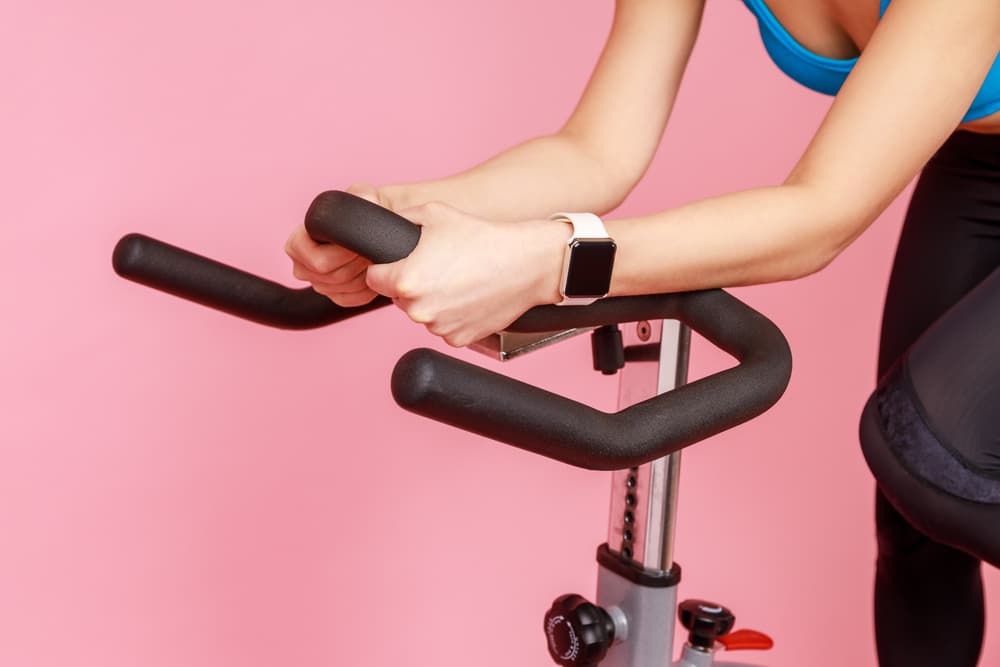
- Learn proper hand positioning for lower injury risk and optimum performance. For instance, place your loose fist hands directly in front during warm-ups, cool-downs, or seated flat-road cycling. Move your hands at the bottom of the handle during seated climbs and seated or standing flat-road cycling. Finally, hold the upper end of the bike handlebar when doing standing climbs.
- Hold the handlebar properly to avoid wrist pain. Keep your wrists straight while cycling. And avoid bending or leaning forward too much, as this only adds more stress to your wrists.
- Control your body movements. Try not to bounce your body in time with your cycling playlists. Practice cycling to the beat without sacrificing your form. Also, match your cycling speed or resistance with your fitness capacity to avoid making unnecessary body moves.
- Set a limit for your cycling sessions. Consider shortening your cycling workout duration if you feel any discomfort. Straining your body too much will only require long recovery periods, affecting exercise consistency and performance.
- Stretch before you start. Begin with a 5 to 10-minute warm-up each time, and do the same thing after your session.
Conclusion
Adding a high-quality exercise bike to your home gym is one way to set yourself up for fitness success.
Ensure that it is also a well-fitted exercise bike with an adjustable seat and handlebar. Check and adjust its height or distance so each bike workout session is comfortable and efficient.
Doing this small but all-important step should keep you pain and injury-free.
Related Questions
1. What parts should I check when adjusting a recumbent bike?
Like upright and spin bikes, recumbent ones have an adjustable seat and handlebar. But because of the reclining form of this bike type, some models also have other parts for adjustment, like the bike pedals, monitor, and backrest. Test it a few times, then adjust it further if needed. These tips on using a recumbent bike should help, too.
2. Can massage guns help in preventing pain from indoor cycling?
Using a massage gun before and after your cycling workout is a good habit. Percussion therapy sessions ensure your muscles are warm and loose before the activity. Post-workout, your handheld massager should help relieve soreness and aid in faster recovery. Follow product instructions, and use the massage gun correctly on the intended muscles.
- What Are the Advantages and Disadvantages of Folding Treadmills? - 11 March 2025
- Can You Use a Massage Gun When Pregnant? - 10 March 2025
- What is the Best Pre-Run Food? - 6 March 2025